

To analyse your position, Posturise needs a video of you pedalling. You still need to be able to pedal without moving. Two set-ups work: the home trainer, which is recommended, and the wall, if you don’t have a home trainer. Here is how to choose and prepare yours.
In short
- The home trainer is the recommended set-up: stable bike, steady pedalling, easy framing.
- Failing that, pedal next to a wall, leaning on it lightly to keep your balance.
- In both cases: side-on, whole body in the frame, 5 to 10 pedal revolutions.
- Only the central 10 seconds of the video are analysed.
Contents
Home trainer or wall: the comparison
| Criterion | Home trainer | Next to a wall |
|---|---|---|
| Bike stability | Very good, the bike is fixed | Fair, you need to hold on lightly |
| Pedalling | Steady, with resistance | Possible if the rear wheel turns without the bike moving |
| Hand position | Natural, on the handlebar | One hand may need to lean on the wall |
| Set-up | A few minutes | Immediate, but needs careful preparation |
| Recommended by Posturise | Yes | Fallback option |
The home trainer remains the best choice because it lets you pedal exactly as on the road, hands on the handlebar, with real resistance. It is this natural position that the analysis needs to see.
Option 1: the home trainer
- Mount the bike on the home trainer and check that it is level. If the front wheel is lower than the rear, raise it with a riser block or a thick book.
- Choose a moderate resistance, like an easy ride on the flat.
- Warm up for 5 minutes to settle into your usual position on the saddle.
- Place the phone side-on, on the drivetrain side, 2 or 3 metres away, at hip height.
No home trainer?
If you ride a fixed-gear bike, Posturise points you towards renting a home trainer from Bikeis.
Option 2: next to a wall
The idea: place the bike parallel to a wall, close enough to lean on it with one hand or a shoulder, so you can pedal without moving forward.
- Make sure the rear wheel turns without the bike moving forward, for example with a workshop stand.
- Place the bike along the wall, on the side opposite the drivetrain, so the chainset stays clearly visible to the camera.
- Keep at least one hand on the handlebar and lean on the wall as little as possible: the more you hold on, the more your upper body position changes.
- Spin smoothly, at your usual cadence, without jerks.
Without resistance, you tend to pedal too fast. Keep to a leisurely pace.
Filming rules for both
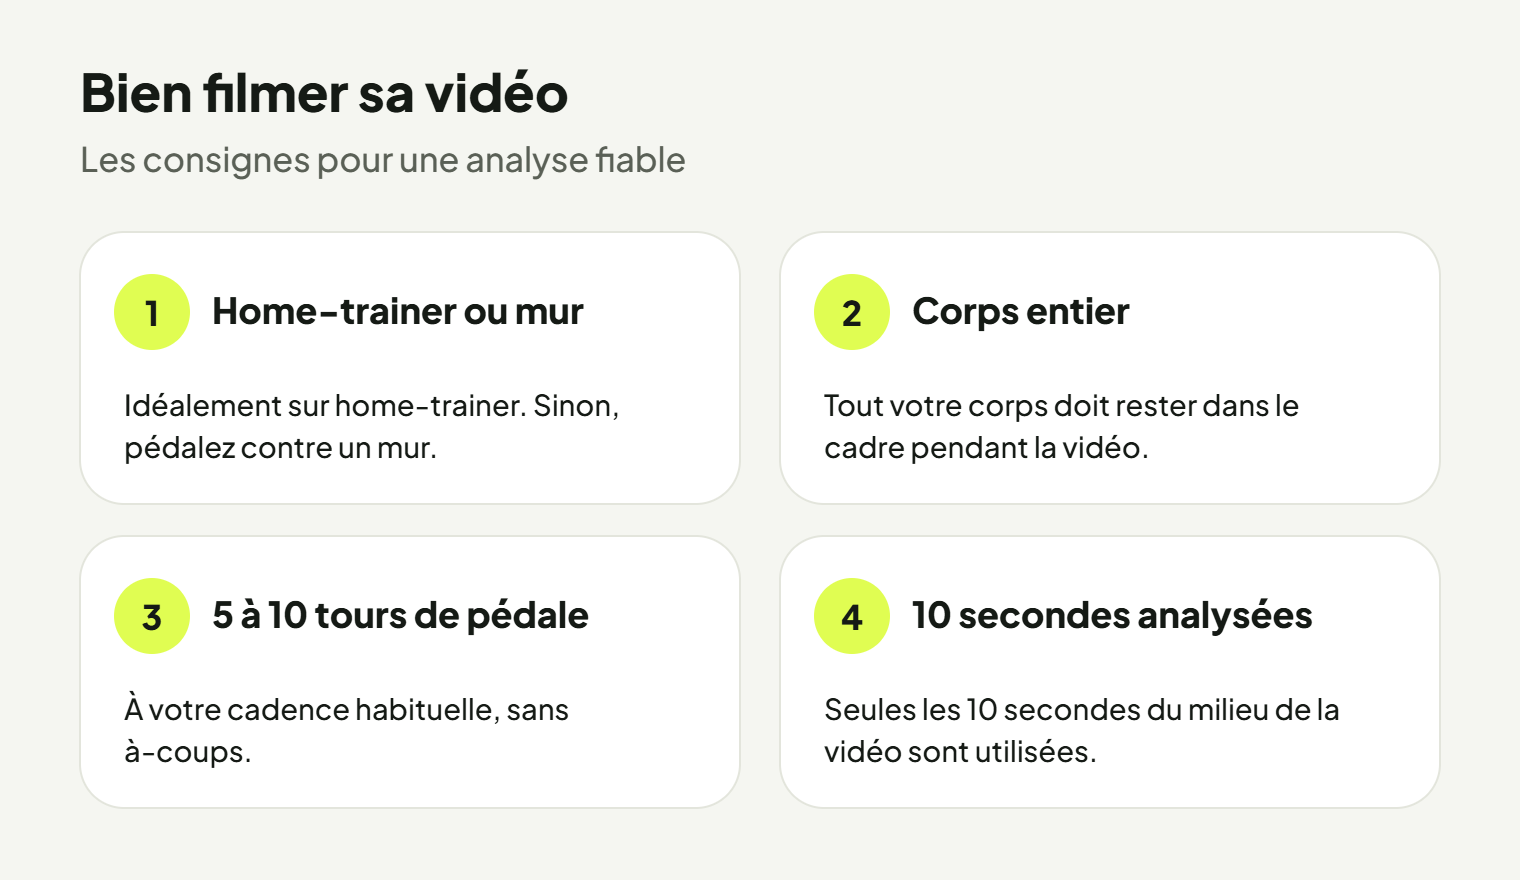
- Side-on, drivetrain side : the camera must see the hip, knee, ankle and foot on the chainset side.
- Whole body in the frame, from head to toe, including the wheels if possible.
- Phone held still, propped up or on a tripod, landscape and perfectly straight.
- 5 to 10 pedal revolutions : only the central 10 seconds are analysed, there is no point filming for longer.
- Close-fitting clothing : cycling shorts and jersey rather than loose trousers that hide your joints.
- Good lighting, coming from the front or from the camera side, not from behind it.
For more on framing, lighting and common mistakes, read Filming a good posture analysis video.
After you send it
The AI analyses your posture and gives you your results: knee angle, foot position and aerodynamics, among others, with advice on saddle height and the handlebar. At busy times, results may take a little while. Keep the same set-up for your next sessions: your results will be easier to compare.
Frequently asked questions
Are rollers suitable?
On rollers, you have to balance and your upper body position can change. If you have the choice, go for a standard home trainer.
Can someone else film me?
Yes, but they must stay still, at the same distance and the same height throughout the video. A phone propped up is more reliable.
Should I film outdoors, on the road?
No. When riding, the camera and the cyclist move relative to each other, which makes the measurement less reliable. A home trainer or a wall gives a stable image.
Do I have to pay for my first analysis?
No, the first session is free and does not require a card.