

The quality of a posture analysis depends first on the video. No special equipment needed: a phone is enough. But a cut-off foot, backlighting or loose pants can make the measurement less accurate. Here is the checklist for getting your video right first time.
In short
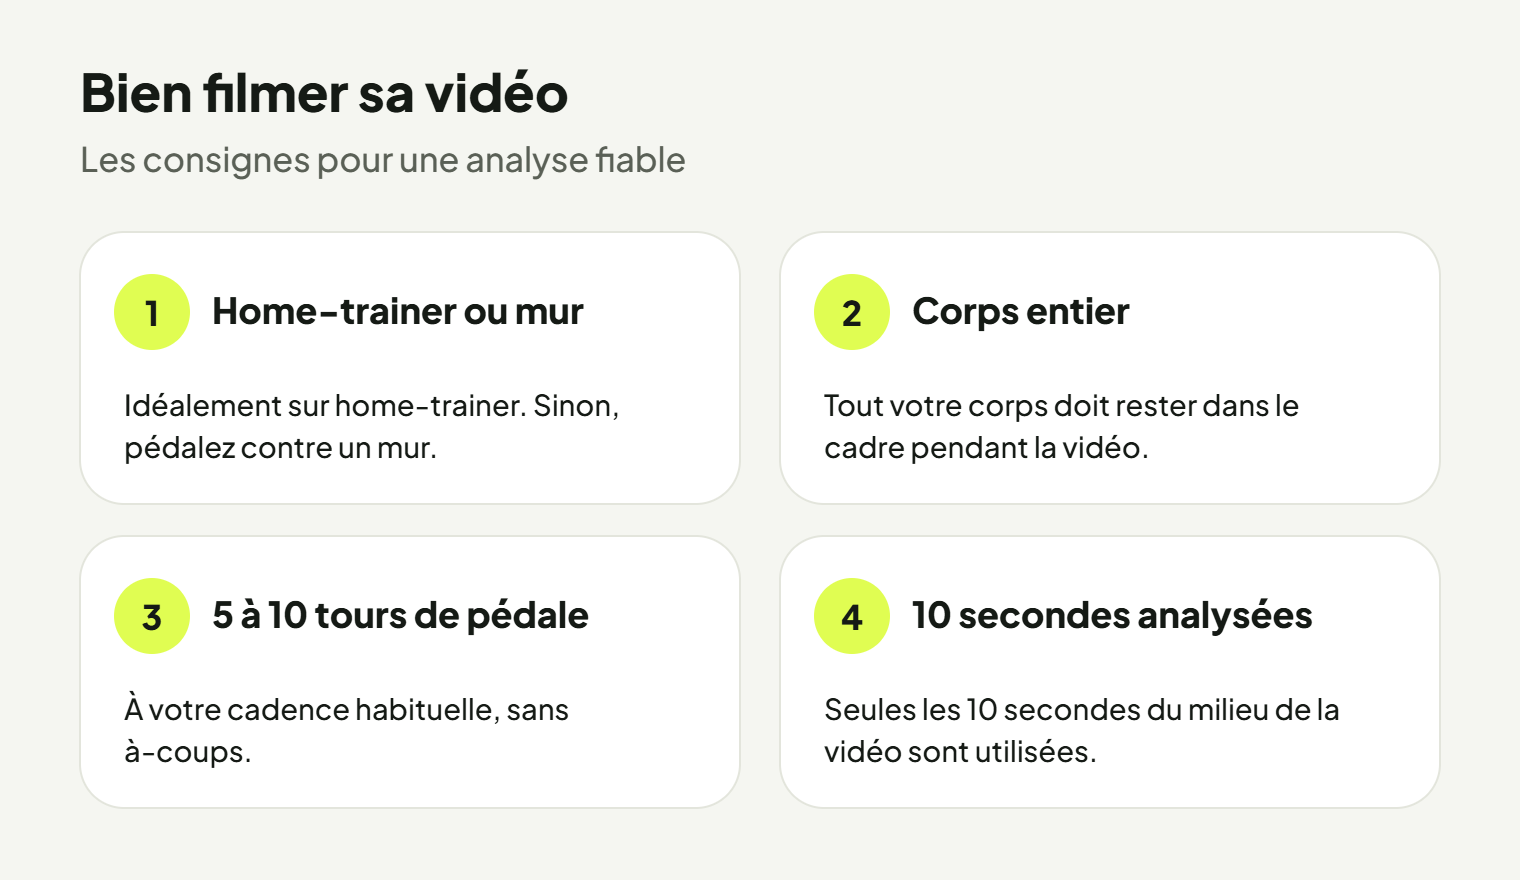
- Phone held still, placed side-on, at hip height.
- Whole body in the frame, from head to toe, throughout the video.
- 5 to 10 pedal revolutions : only the central 10 seconds are analyzed.
- Close-fitting cycling clothes, a well-lit room, no backlighting.
Contents
Before filming: the setup
Pedal on the spot, ideally on a home trainer, or failing that against a wall to keep your balance. If you can’t decide between the two, our comparison Home trainer or wall: filming yourself for your analysis helps you choose. On a fixed-gear bike, Posturise points you toward renting a home trainer from Bikeis.
Keep your current settings: the analysis measures your position as it is today.
Framing
- Film side-on, perpendicular to the bike, to see your legs, back and arms clearly.
- Put the phone down on a tripod, a chair or a shelf: hand-held, it moves.
- Place it at hip height, perfectly straight, without tilting it up or down.
- Step back far enough not to cut off your head or feet, even when the pedal is at the bottom.
- Film in landscape : a bike side-on fits more easily in a wide frame.
The test before recording
Sit on the bike, pedal at the bottom, and look at the screen: if your feet and head are visible with a little margin, the framing is right.
Light and background
- A well-lit room, preferably with the light coming from the camera side.
- No backlighting : a window behind you turns your silhouette into a shadow.
- A clear background, with no other person or object passing through the frame.
Clothing
The AI locates your joints: shoulders, hips, knees, ankles. The more visible they are, the better the measurement.
- Close-fitting shorts and jersey rather than loose shorts or pants.
- Your usual cycling shoes : a different sole changes the height of your foot, and so the measurement.
- No loose jacket hiding your back and arms.
Duration and pace
Warm up for a few minutes to settle into your natural position, then start recording and pedal 5 to 10 revolutions, at your usual cadence. Only the central 10 seconds of the video are analyzed: no need to film for longer, but don’t cut it too short either.
The most common mistakes
| Mistake | Consequence | Solution |
|---|---|---|
| Feet or head cut off | Joints out of frame | Move the phone back |
| Phone hand-held | Image moves | Put it on a stand |
| Camera too high or too low | Distorted angles | Place it at hip height |
| Backlighting | Dark silhouette | Change direction |
| Loose clothing | Joints hidden | Close-fitting cycling clothes |
| Pedaling too fast | Less natural position | Ride at a leisurely pace |
After you send it
The AI analyzes your posture: knee angle, foot position and aerodynamics, among others, with advice on saddle height and the handlebar. At busy times, results may take a little while.
After an adjustment, do another session in the same conditions (same room, same phone position): your sessions will be easier to compare over time.
Frequently asked questions
Should I film in portrait or landscape?
In landscape, it is easier to fit the whole cyclist and bike in. The important thing is that your whole body stays in the frame.
Can I film myself on my own?
Yes. Put the phone on a stand, start recording, get on the bike and pedal a few revolutions before the useful part: only the central 10 seconds are analyzed.
Which side should I film from?
Side-on, to see your legs, back and arms. The drivetrain side gives a clear view of the crankset.
Is the first analysis really free?
Yes, the first session is free and does not require a card.