

Has your bike spent the winter in the garage, or have you been riding on a home trainer in a different pair of shoes? In spring, your position has often shifted without you noticing: a seatpost that has slipped, worn cleats, reduced flexibility. Before you start stacking up rides, take half an hour to check six things.
In short
- Check your saddle height first: it is the adjustment that protects your knees the most.
- Check the saddle tilt, the handlebar position and the cleat wear.
- Check again anything that changed over the winter: shoes, saddle, pedals.
- Build up gradually : even the best position won’t protect you from too sudden an increase in volume.
Contents
The six points at a glance
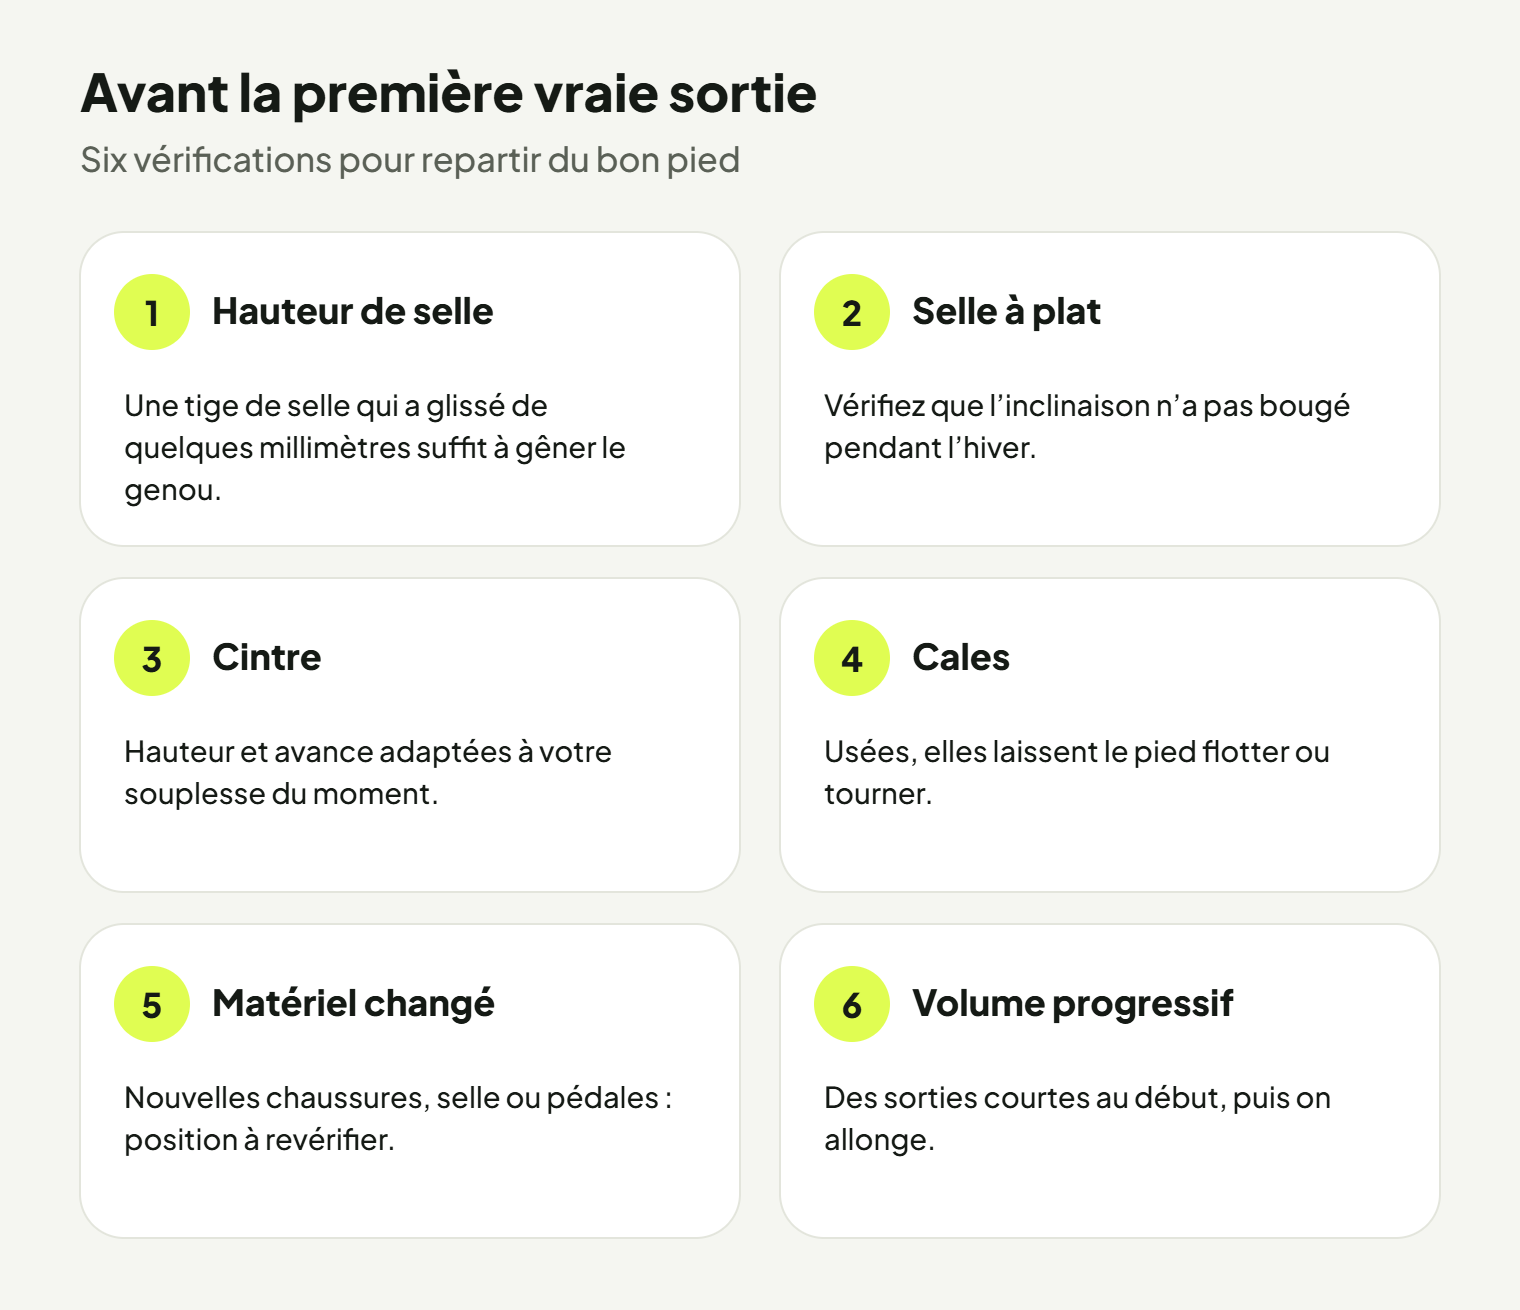
1. Saddle height
A seatpost can slip a few millimetres over the winter, especially if the clamp was loosened to store the bike. And a few millimetres are enough to overload your knees.
The benchmark: the maximum knee angle, measured while pedalling, at around 141 ± 5°. Mark the position of the seatpost with tape once you have found the right setting: you’ll find it again easily. Full method: Saddle height: the knee angle method.
2. Saddle tilt
A knock, a car journey or careless tightening can make the saddle pivot on its rails. Put a spirit level on the saddle: it should be level, or very slightly nose-down. Nose up, it presses on the groin; nose down, it makes you slide forward and loads your hands.
3. The handlebar
After the winter, flexibility has often decreased. A low position that felt fine in September can become uncomfortable in March.
- Height : Posturise benchmark, a back inclination of around 45 ± 5°. No shame in raising the handlebar by one spacer for the first few weeks.
- Reach : benchmark, an arm opening of around 90 ± 5°.
- Tightness : check that the stem is aligned with the wheel and that the handlebar does not rotate.
4. The cleats
Shoe cleats wear out, especially if you walk in them. A worn cleat allows more float or, on the contrary, holds the foot poorly. Check their condition and tightness, and replace them if they are damaged. If you change them, copy the exact position of the old ones (trace around them with a marker before removing them).
5. Anything that has changed
New shoes, new saddle, new pedals, different insoles for the home trainer: every change alters the position of your foot or pelvis. After an equipment change, always measure your saddle height again.
6. Gradual volume
This is the point most often overlooked. Tendons and joints need time to get used to it again, even if your fitness comes back quickly.
- Start short : rides of one to one and a half hours in the first few weeks.
- Increase gradually duration and climbing, week after week.
- Spin smoothly : avoid big gears and grinding up climbs at first.
- Listen to the signals : knee pain that appears on a ride is a warning sign, not a niggle to ignore.
Check your position in 10 minutes
Set the bike up on a home trainer or against a wall, and film 5 to 10 pedal revolutions side-on, whole body in the frame. Posturise analyzes your posture and advises you on saddle height and the handlebar. If you already did an analysis last year, compare the two sessions to see what has shifted.
Frequently asked questions
I rode on a home trainer all winter, do I still need to check?
Yes, especially if you used different shoes or if the bike was taken apart for transport. On a home trainer, your position is also more static than outdoors.
Do I need a full bike fit every spring?
Not necessarily. If nothing has changed and you have no discomfort, a quick check of the angles is enough. A full analysis is worthwhile after a major equipment change or if you are in pain. More details in our bike fitting guide.
My knee hurts from the very first rides, what should I do?
Reduce the volume, check your saddle height and read Knee pain when cycling: matching the discomfort to the right adjustment. If the pain persists at rest, see a doctor.