

Your guide to riding pain-free.
Bike setup, pain, gear: our articles help you understand your position on the bike and dial it in to the millimeter, from home.
 Featured
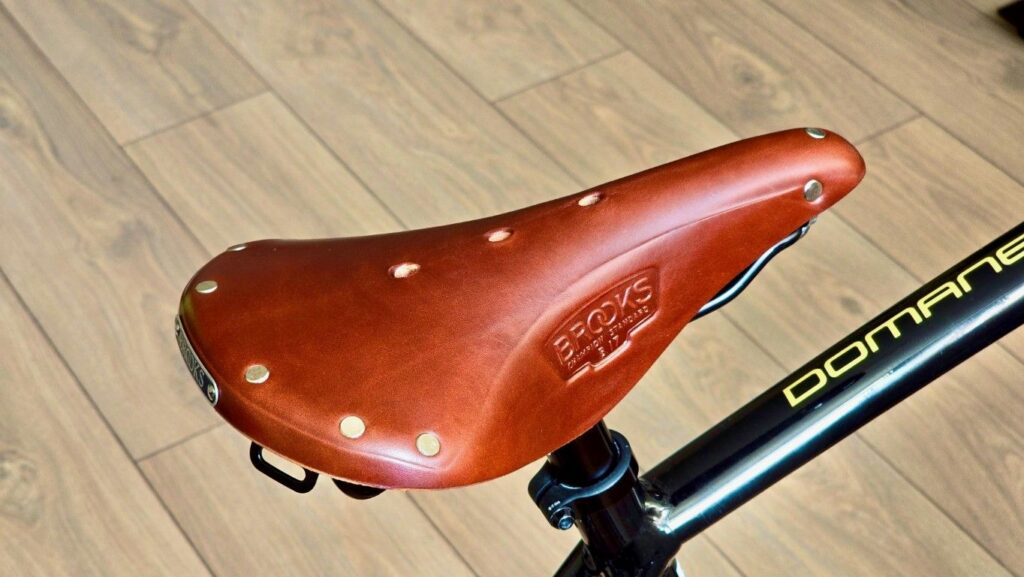
Choosing a saddle: width, shape and sit bone support
A saddle is chosen first by the width of your sit bones, then by your position. How to measure, what width to aim for and which shape to choose.
Read the articleStart with what you feel
Pick the situation that sounds like you: we’ll show you the most common cause and the articles to read first.
“My knees hurt”
Most often, a saddle that’s a few millimeters too high or too low.
“My hands go numb”
Too much weight up front: your handlebar or stem needs adjusting.
“My back or neck hurts”
Often a handlebar that’s too low or a saddle that’s too far forward.
“I’m new to this. Where do I start?”
Understand what we measure, then nail your first video.
The easiest way to know what to adjust: an analysis of your position.
All articles
2 articles

Filming a good posture analysis video: framing, light, clothing
A phone is all you need, as long as you frame it well. Framing, light, clothing, duration: the checklist for a video the Posturise AI can analyze first…
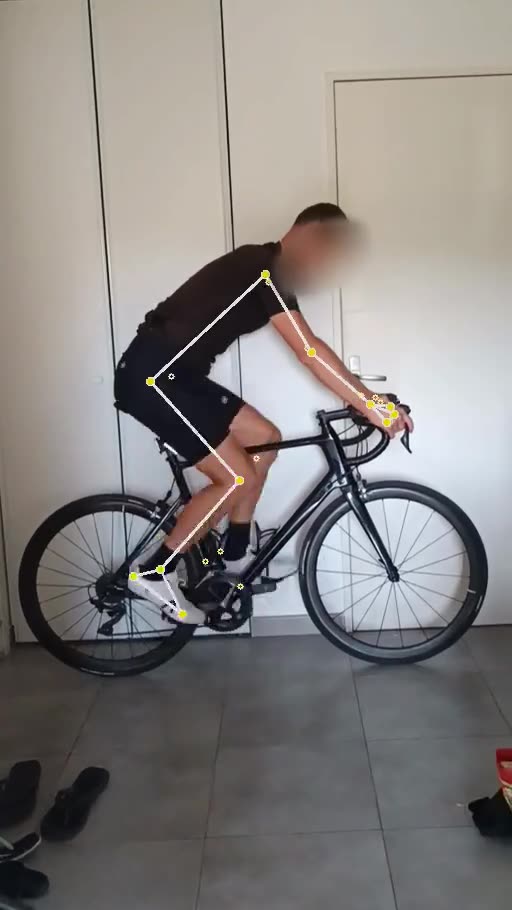
Home trainer or wall: filming yourself for your analysis
Home trainer, wall, fixed-gear: which setup to choose to film your posture analysis, and how to get it ready in ten minutes.
Three angles are all you need to set up your bike
Each adjustment is based on one of your body angles, measured while you pedal. We compare it to an ideal range, then adjust one step at a time.
| Adjustment | What we measure | Ideal range |
|---|---|---|
| 1Saddle height | Maximum knee angle | 141 ± 5° |
| 2Handlebar reach | Average arm angle | 90 ± 5° |
| 3Handlebar height | Average back angle | 45 ± 5° |
One adjustment at a time. Adjust, film yourself again, then move on to the next one: the angles affect each other.
Measure your three angles on your own bike: your first analysis is free.